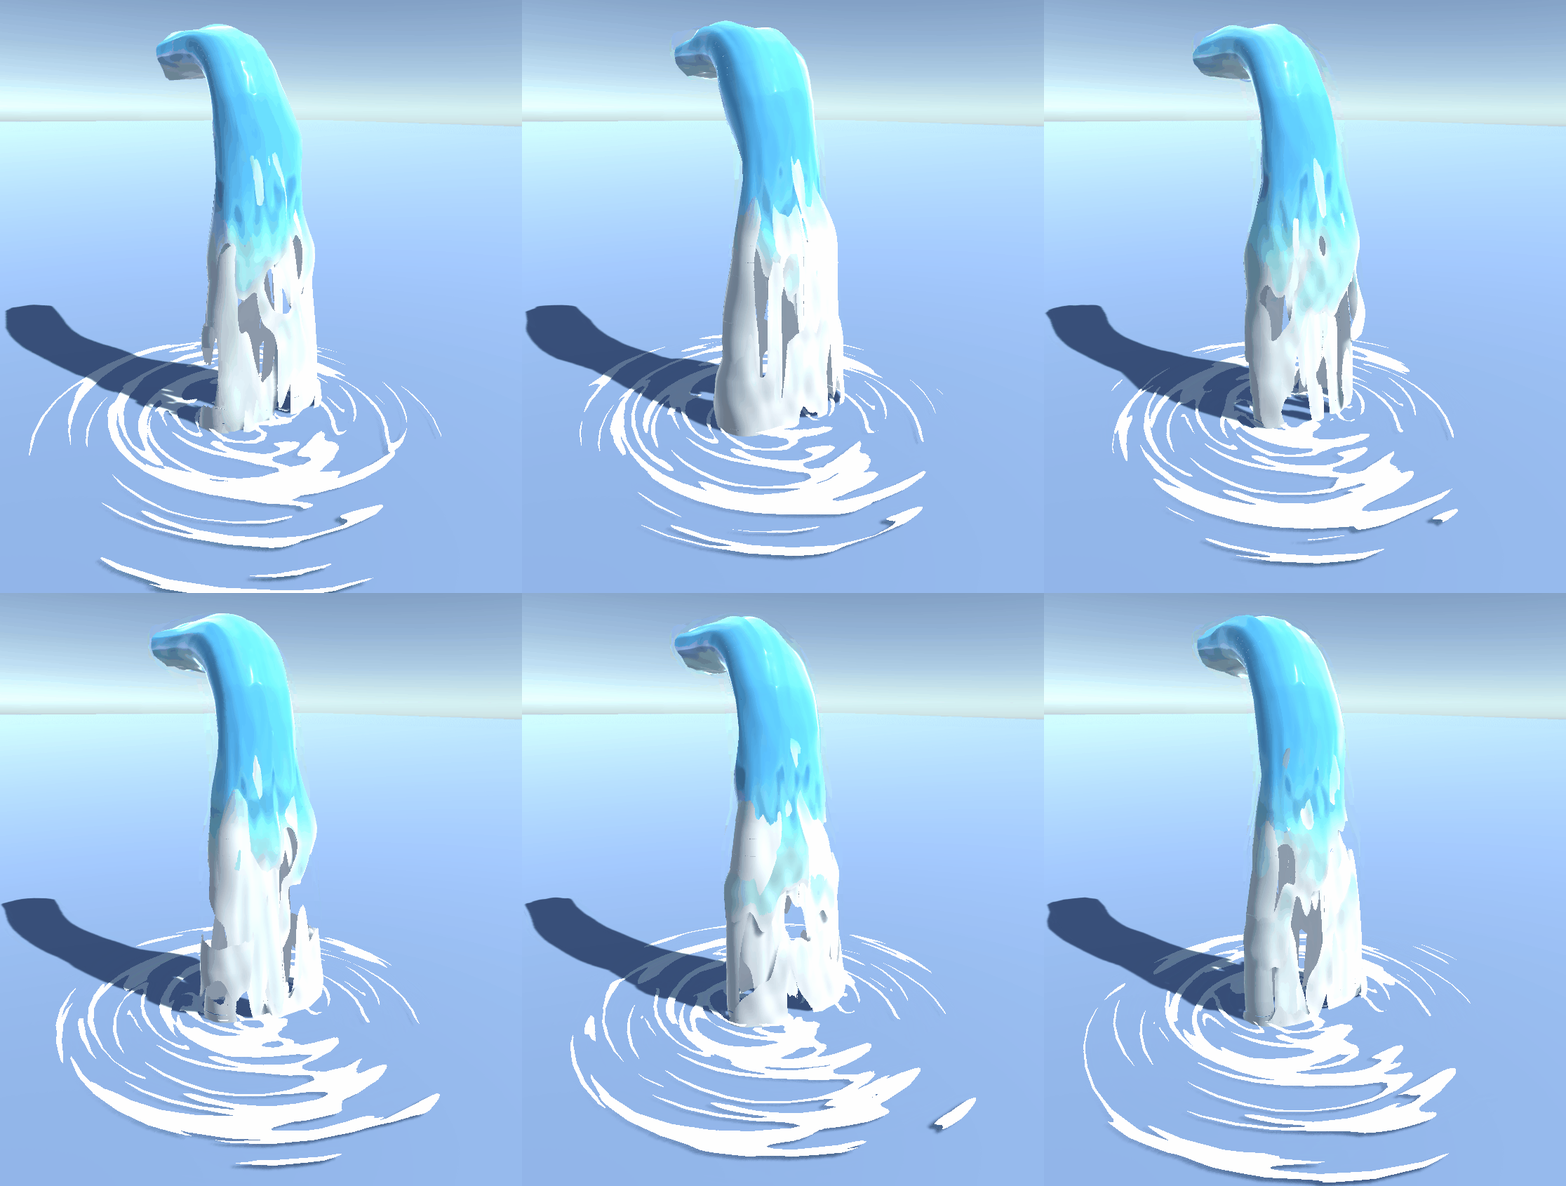
You can also check out this blog over at 80 Level
Part one - water wrinkle effect basics
Part two - water wrinkle effect opacity
Part three - waterfall basics
Part four - waterfall color, opacity and vertex displacement
NOTE: This blog post contains loads of GIFs, I recommend you don't view this if you are on a mobile network!
Now we got the 'water wrinkles' working, time to move on to the actual waterfall itself. The reason I started with the water wrinkles first, is because it uses many of the same techniques as the waterfall, but the overall shader for the waterfall is more complex and has some extra stuff going with it. For this reason I won't go as in depth in the thing we already talked about, but instead refer to the previous 2 blogposts.
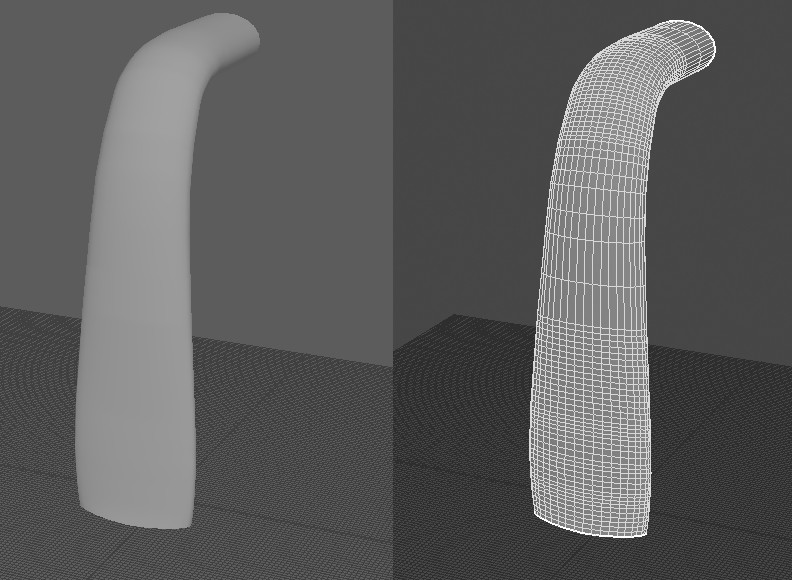
To start with the obvious, we need a basic panner and a mesh to pan it on once again! You might wonder why it has this many polygons, and you'd be right to ask that question. Just like in Simon's waterfall I want to make use of vertex displacement. As the name implies, this means we can displace the vertices of the model in 3D space via the shader. To make this look good though, we need some extra vertices. To optimize this you could easily create LOD's, or Level Of Detail meshes, that have fewer polygons and make Unity swap to lower resolution models if you move further away. I'll go more into vertex displacement in part 4, but for now you know why it's so high poly.
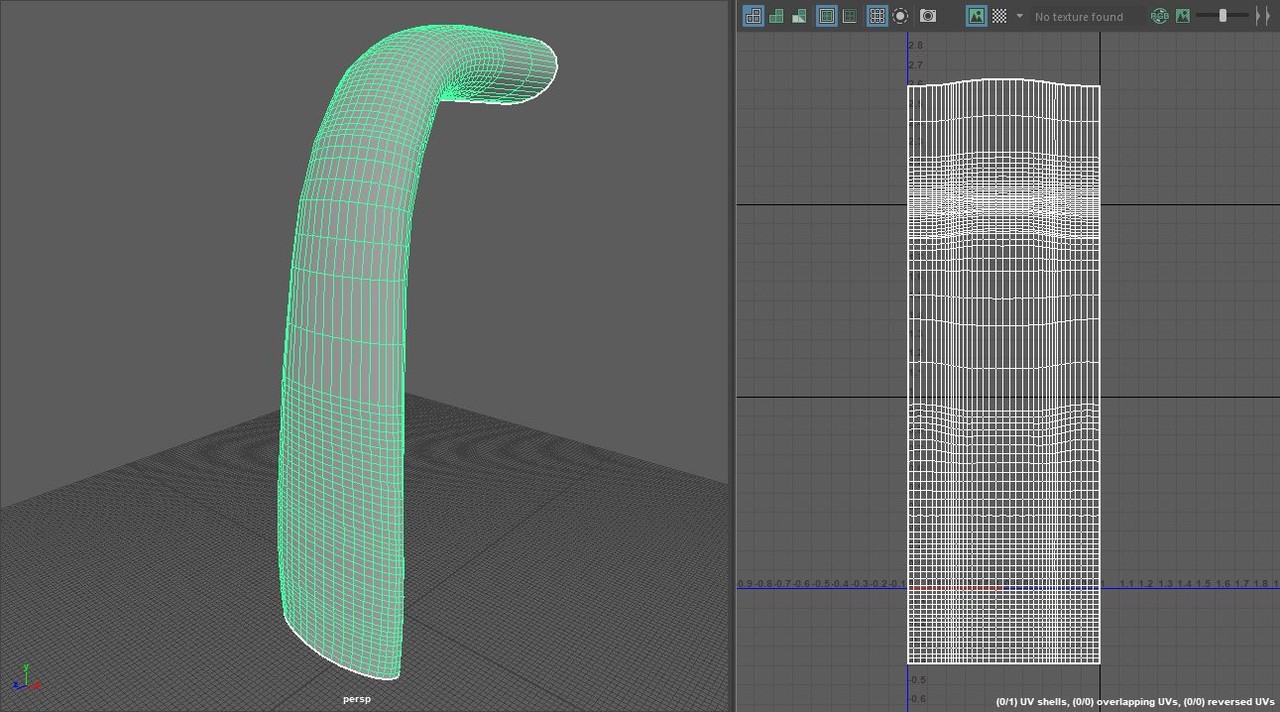
I put the UV seam at the back of the waterfall. Even though it shouldn't have any visible texture seams, it still is considered good practice to always keep this in mind and try to put the UV seams in places least visible for the player. As you can see here, similar as with the water wrinkle mesh in part 1, I UV'd it in such a way it should not have any texture seams on the model when using tiling textures. One side of the UV island is snapped to the 0 of the U direction, and the other one to the 1 of the U direction. We just have to keep in mind our tiling in the U direction, which has to be a round number (a tiling of 1, 2, or 3 for example). If we would tile it 1.2 times in the U direction we would end up with a seam on our mesh, because the texture is displayed 1.2 times in the U direction, so it won't tile. Obviously, you will need a seamless tiling texture in order for this to work at all.
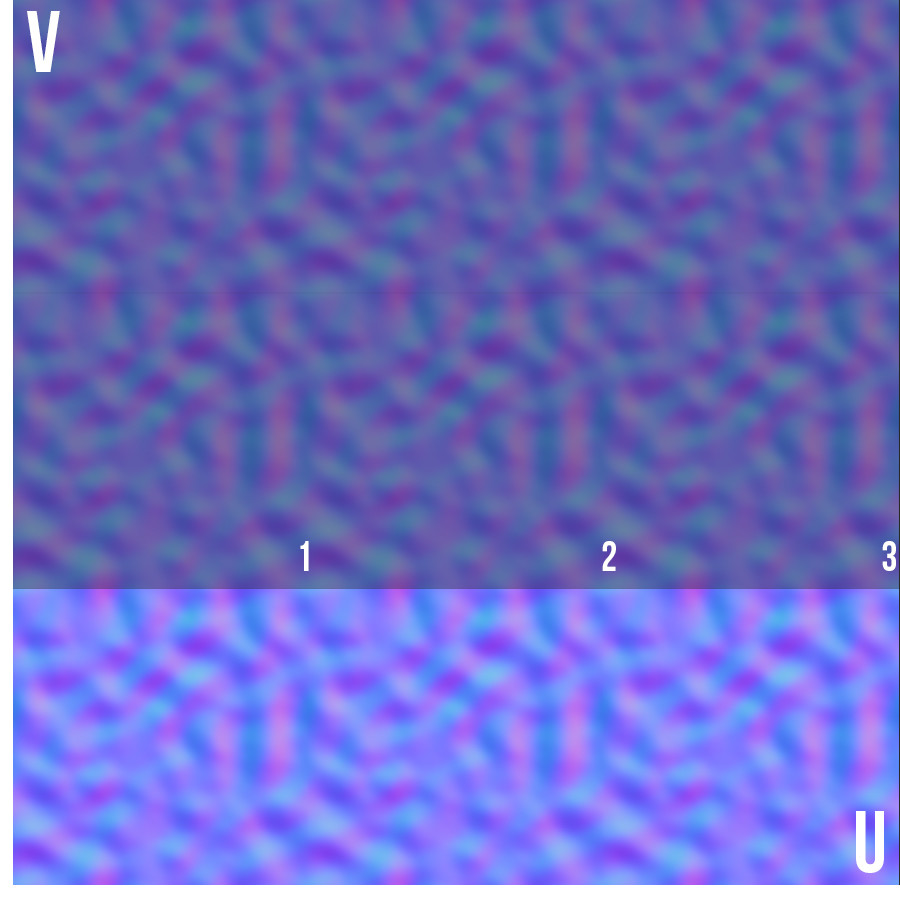
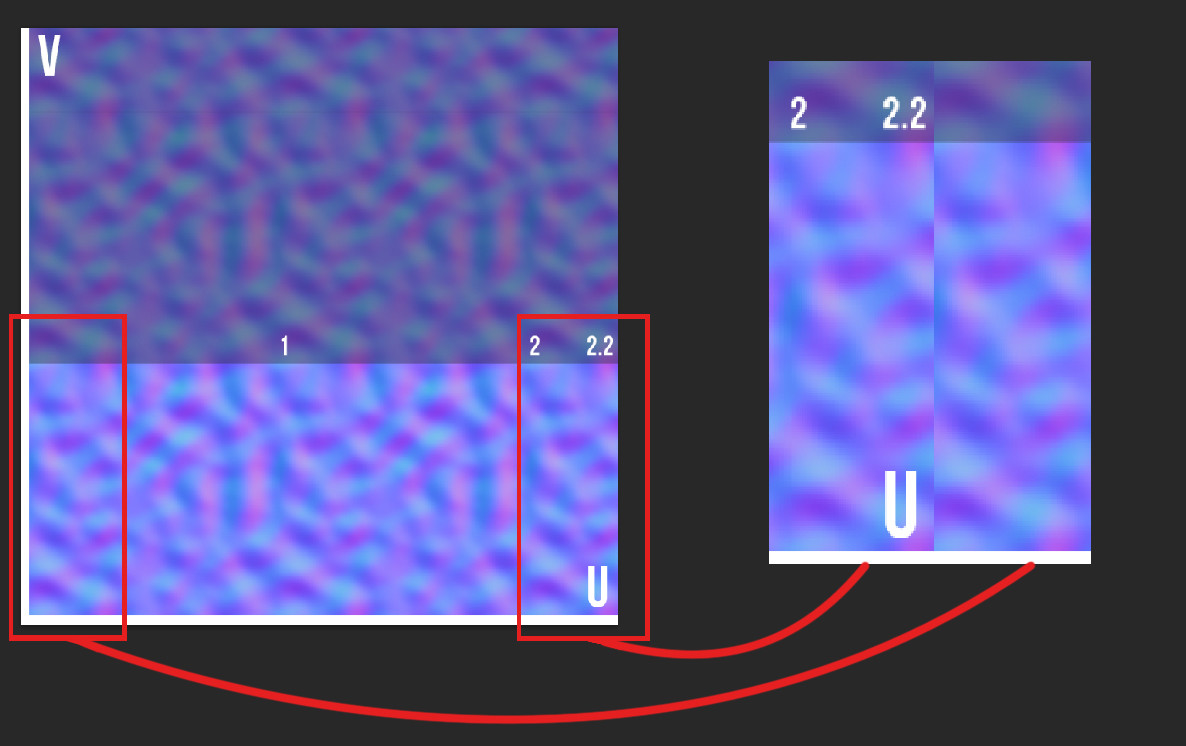
Here's a normal map tiling 3 times in the U direction. Note how the very right of the 3d image meets the 1 of the U direction perfectly. If you set your U tiling to 3 this means that the texture repeats 3 times between the 0 and 1 in the U direction (the image below represents the 0 to 1 UV space).
To demonstrate, here's the same texture tiling 2.2 times. When it wraps around, a seam appears. I realize this probably is very obvious to many of you. However, it's important to understand why and how you have to lay out your UV's in certain scenarios. Because we are dealing with panning tiling textures and also don't want any seams we have to adapt our UV map in order for this to work.
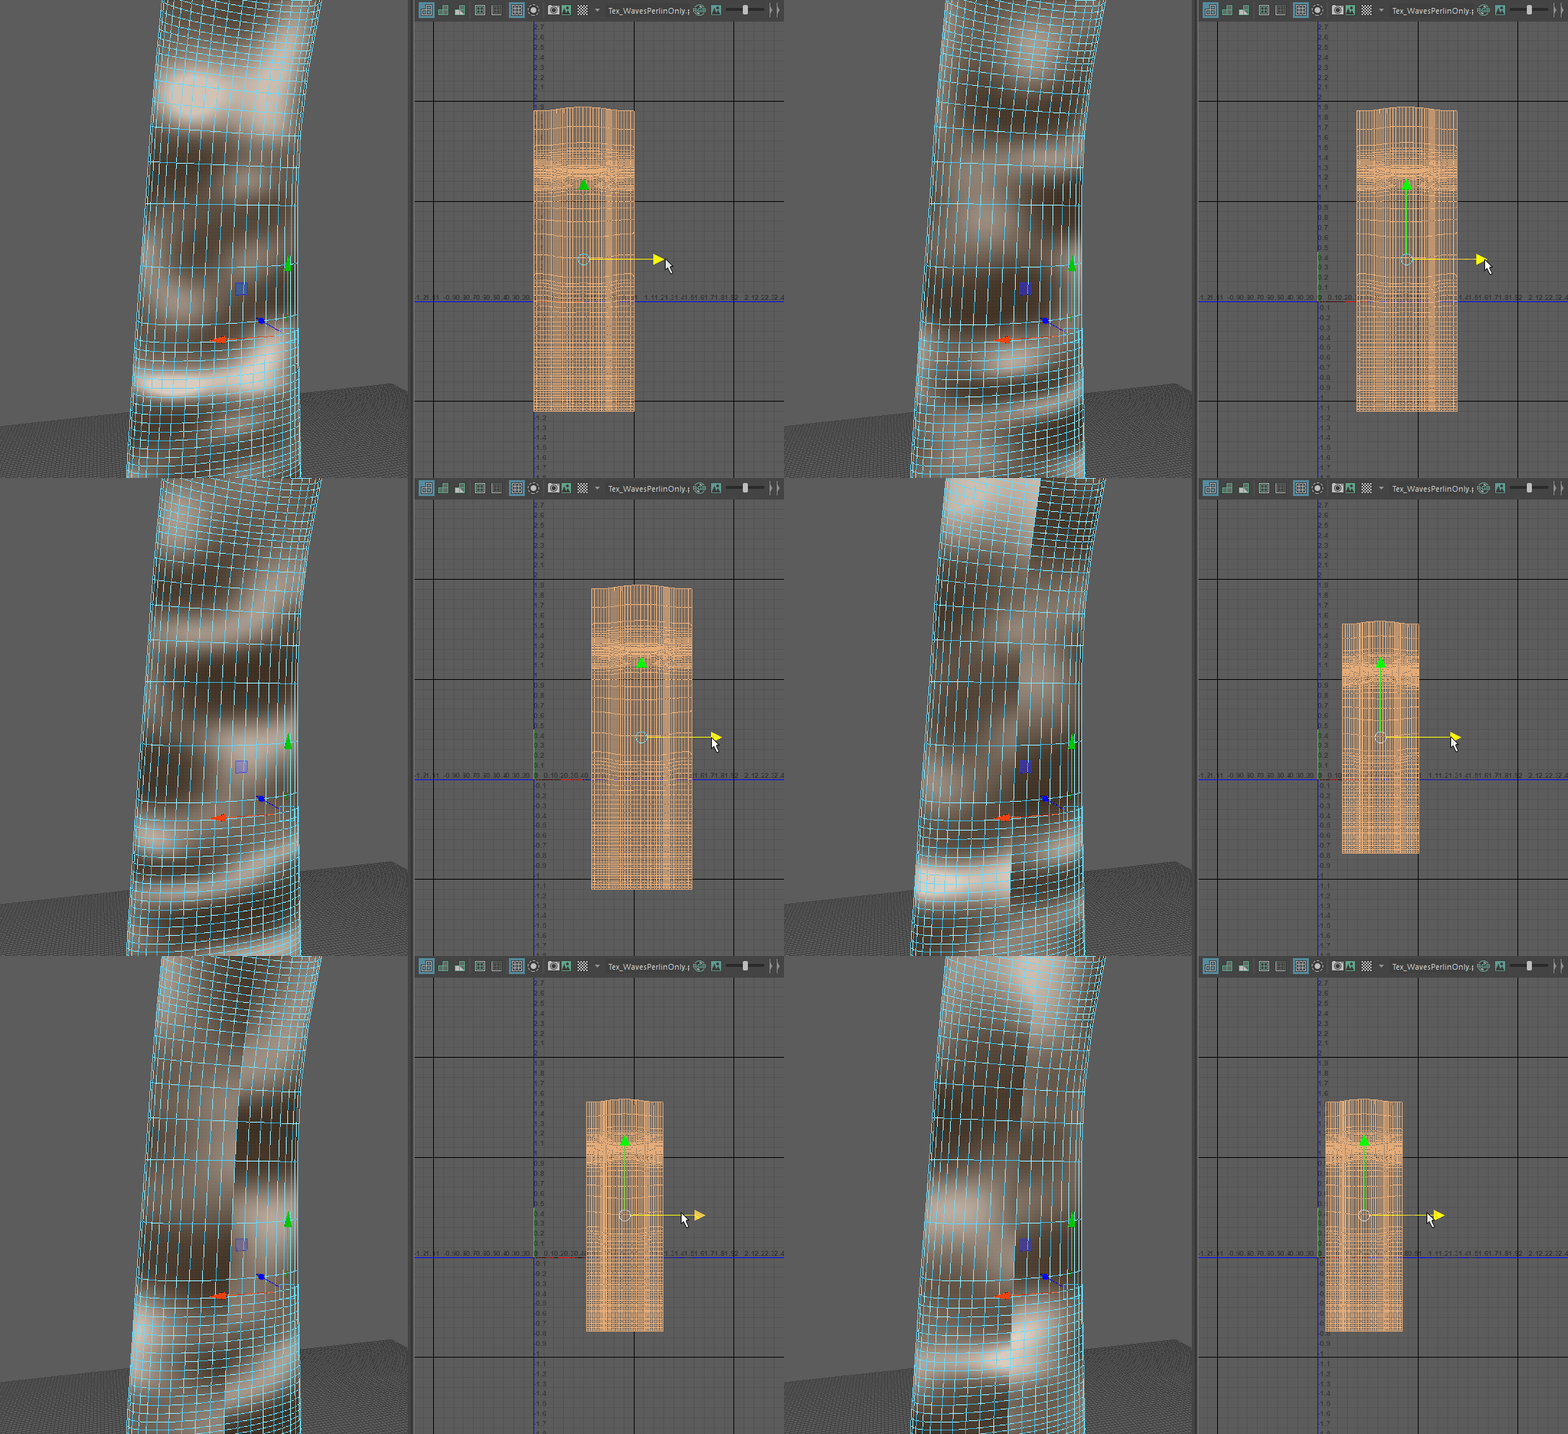
For completeness sake, here's me moving the UV map around. With one of them the width of the UV island is exacly 1 so it tiles perfectly, the other one is scaled down just so you can see it now has a seam. Simple stuff! Since we are only using tiling textures the UV map doesn't have to be completely within the 0 to 1 space.
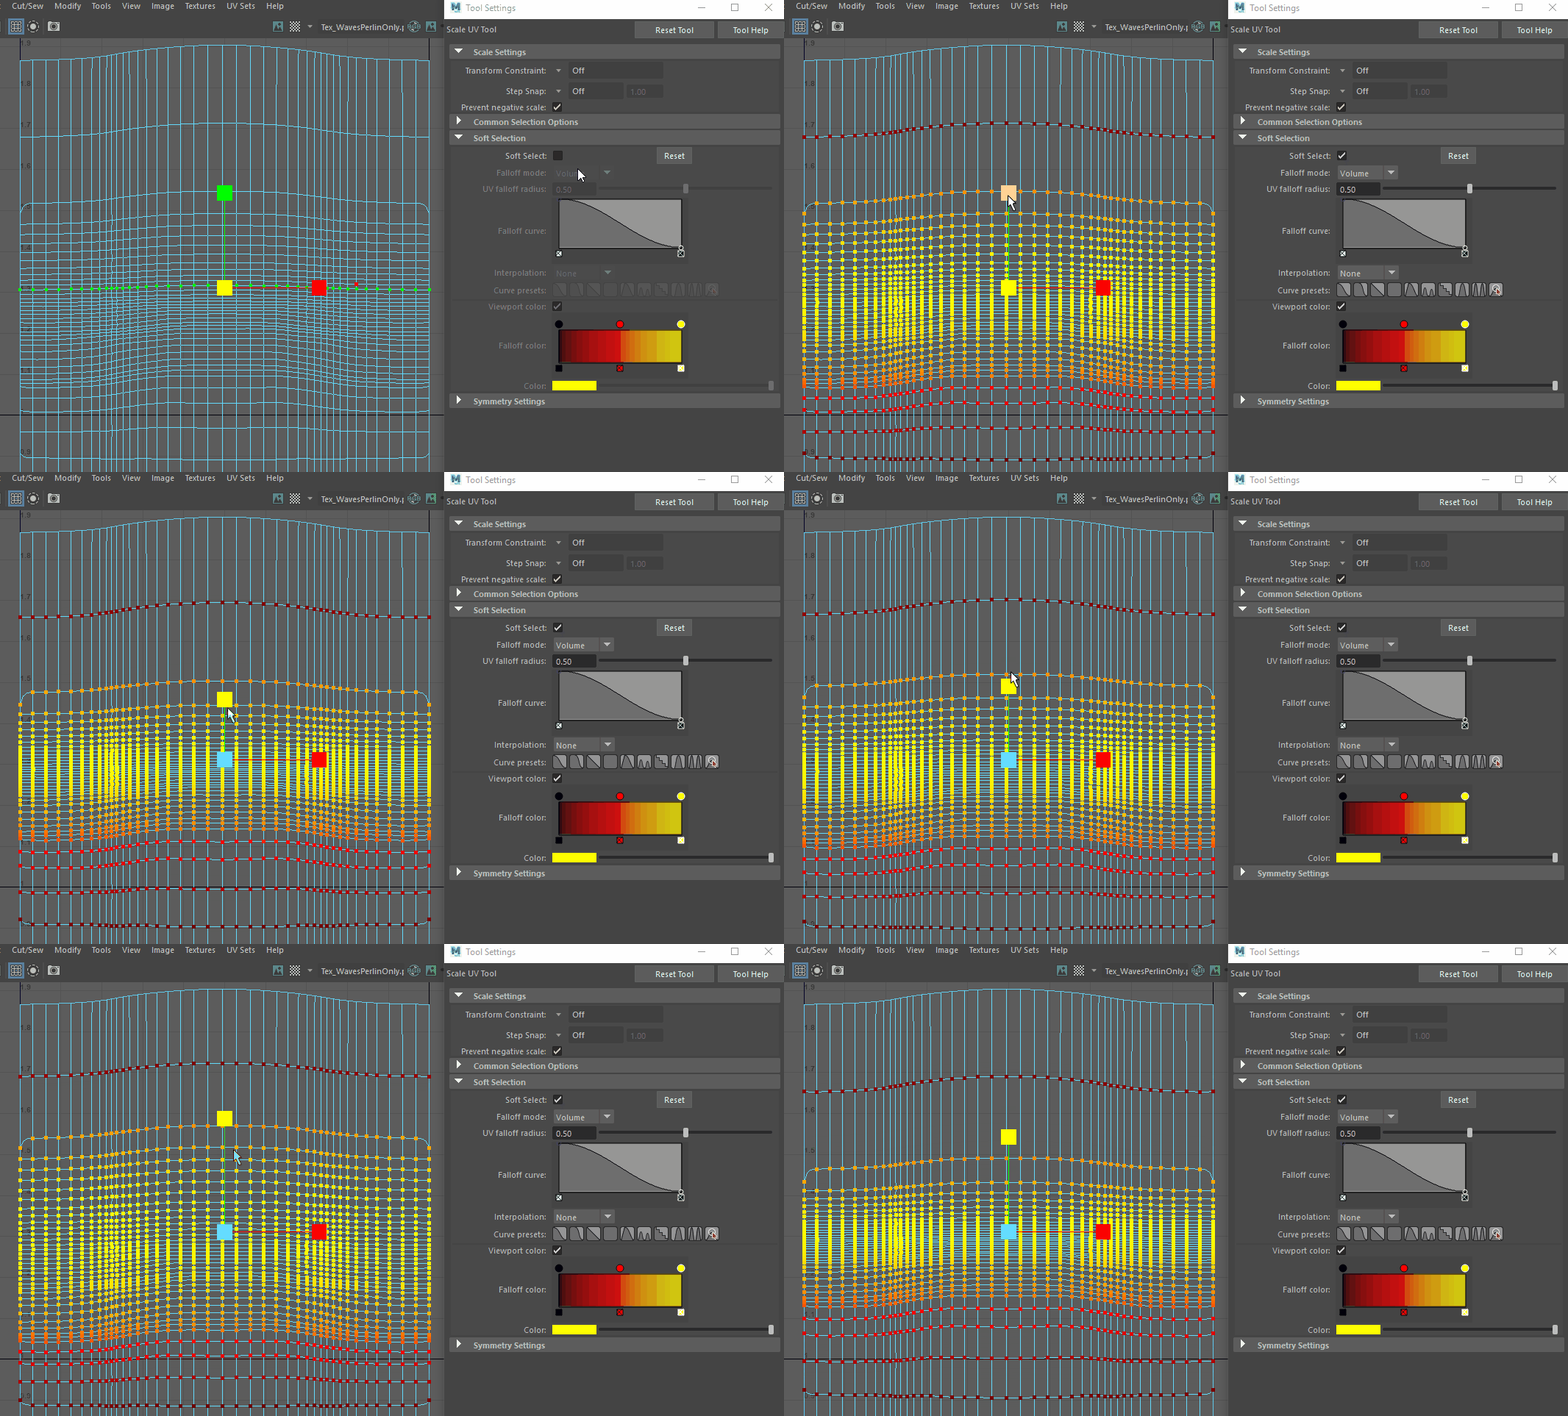
Just as with the water wrinkles, I distorted the UV map so when you are using a panner, the texture is moving faster or slower in certain points on the mesh. Here the extra polygons also help to make the transition between distorted areas less obvious. I like to enable soft selection to warp the UV's to more easily get smoother transitions.
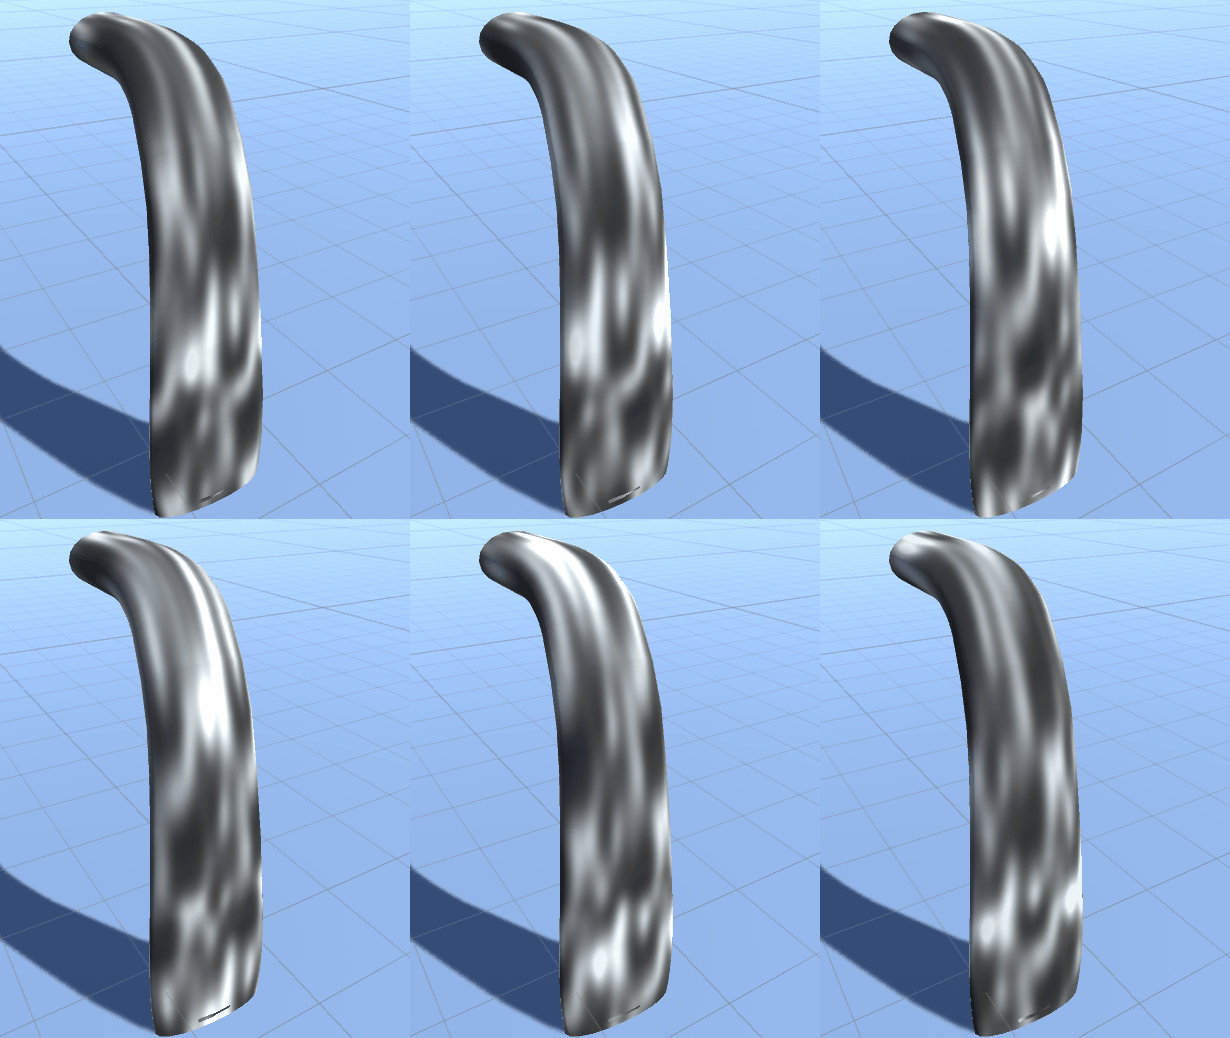
Here you can see this in action. Note how the texture is stretched more at the 'bend' of the waterfall. You can exaggerate this effect as much or little as you want. Always imagine the translation from UV space to 3D space. With the UV vertices closer together, a texture will move quicker around these UV's in 3D space when using a panner. If you move UV vertices further apart, the texture will appear more frequent on that area of the mesh (appearing squished together), and move slower in 3D space when using a panner. Just experiment with this untill you get the desired effect. In hindsight I would have probably liked to exaggerate this effect a bit more.
Note: this is a new material. Create a new material and apply a newly created shader to it (see part 1).
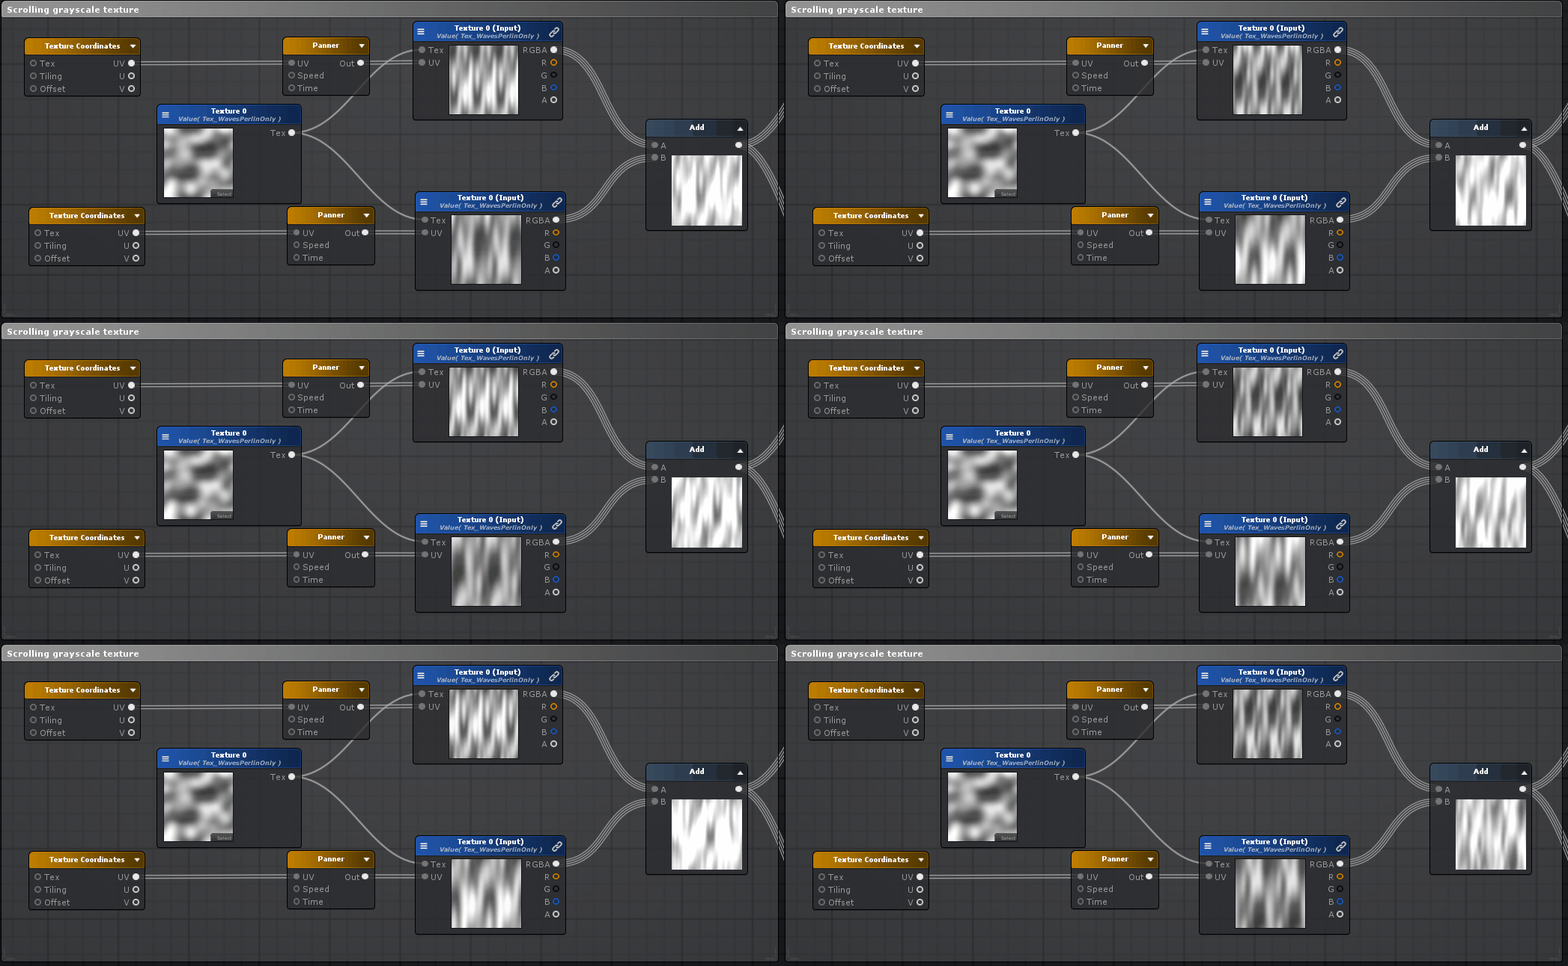
Once again we are using a single texture with some variation in panner speed/direction as well as UV tiling (flipping one of them by giving a negative U value), adding them on top of eachother to get a more random feel. We will use the output of this add to drive a bunch of other stuff; opacity (with a hard cutoff), vertex displacement as well as some color variation.
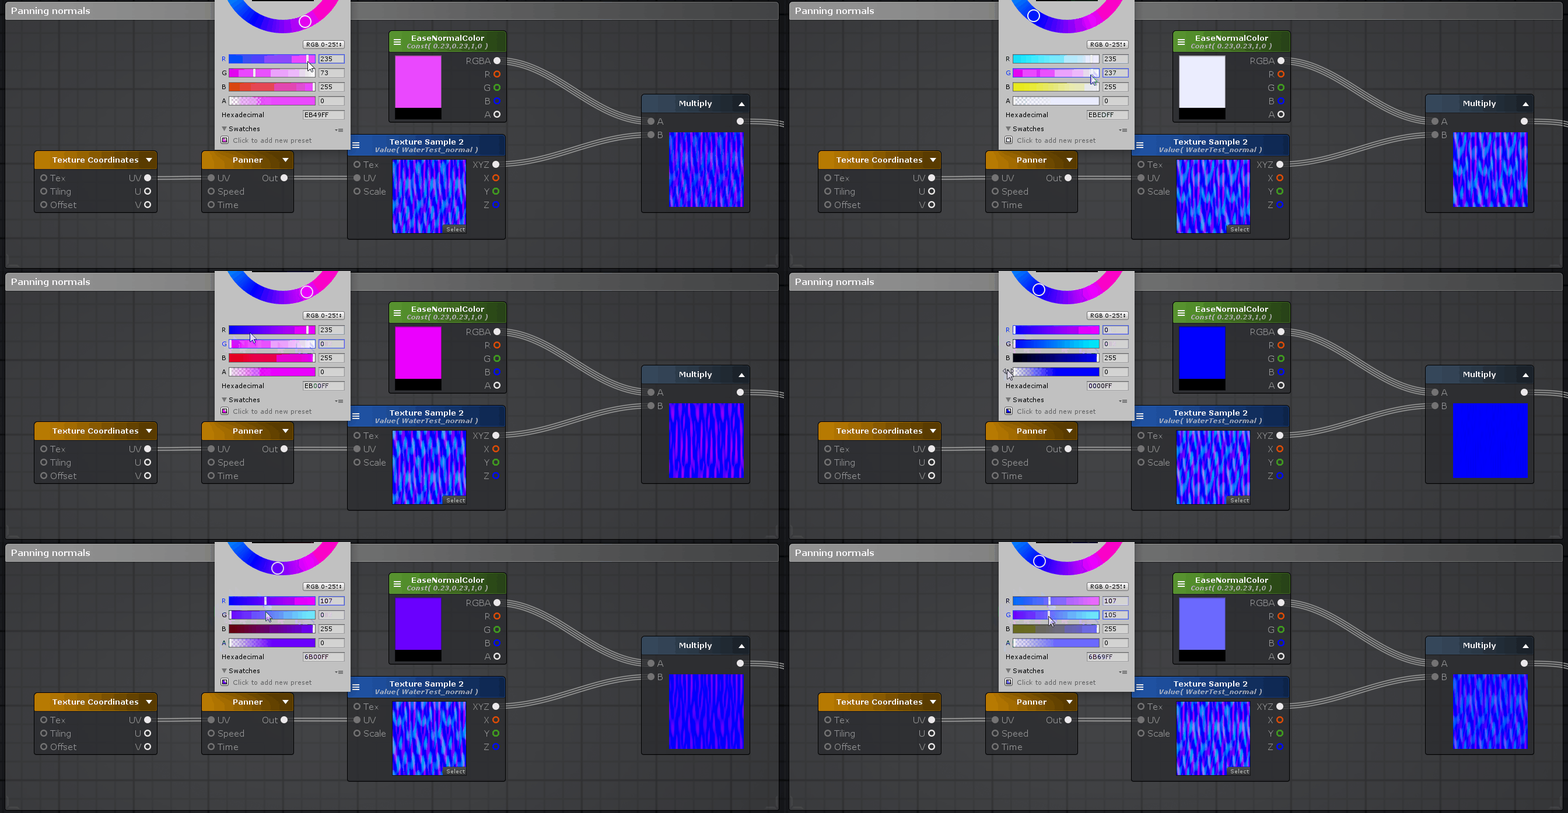
I also used a scrolling normal map. I used just one here as it moves so quickly using 2 panners for variation wouldn't really make much of a difference in this case. I did multiply it with a blue value of 1 (it says 255, but this is the same as each color channel has 256 steps, 0 to 255), and a red and green value of 60 (or a value of 0.23 if you use the 0 to 1 scale). I did this because the normal map was way too intense and this kind of flattens it down and makes it a lot more calm. Keep the R and G value the same and increase them to bring back more intense normals. This is a nice trick to make the normals more calm and gives you a bit more customizability within the shader itself.
Alright, we got the basic stuff set up. Two grayscale panners that feel more random that we can use to drive a bunch of stuff, and a simple panner with a normal map to give some more surface detail. We also have a decent mesh to apply the material/shader to, giving us what we need to create the effect we are looking for! I'm going to end part 3 here, and finish up in part 4!
Part one - water wrinkle effect basics
Part two - water wrinkle effect opacity
Part three - waterfall basics
Part four - waterfall color, opacity and vertex displacement

