
You can also check out this blog over at 80 Level
Part one - water wrinkle effect basics
Part two - water wrinkle effect opacity
Part three - waterfall basics
Part four - waterfall color, opacity and vertex displacement
NOTE: This blog post contains loads of GIFs, I recommend you don't view this if you are on a mobile network!
This is what we will be creating in the coming blog posts! Those who follow me on Artstation might have noticed that I created something very similar a while back in UE4 for my graduation project. This effect is made in Unity however, for multiple reasons. First of all, I try to present myself as a broad game artist, not tied to a single game engine. By using both UE4 and Unity I hope to demonstrate this. Secondly, as part of my final year in my game art education, I have to do something we call 'knowledge transfer'. For this I'm helping out in the VFX classes in my uni. Most students use Unity and have little experience with shaders, so in an attempt to strip away as much confusion as I could I 'ported' this effect from UE4 to Unity for my guest class. This way the students can focus 100% on the subject matter and hopefully will not be distracted by a totally new interface by using UE4 (though the shader graph system in UE4 and the one I used in Unity, Amplify Shader Editor, are very similar).
Before I start the breakdown of this waterfall effect, it's important to give credit to Simon Trümpler, artist at Tequila Games where he worked on RiME. I learned a bunch from him over at his blog (the specific blogpost/talk in question: https://simonschreibt.de/gat/stylized-vfx-in-rime/). I was relatively new to shaders / VFX when I found his talk. I watched the talk and thought, "oh wow, maybe I could actually make this?" - so I tried. By trying to create something similar I learned a lot about the creation of such effects which resulted in me being able to create cool effects by myself which I couldn't do before. I highly recommend you check out his talk if you want to learn more about ways to create stylized effects (like fire, for example, there's also a relatively new one about the water shader used in RiME).
In this blog post however, I try to go in-depth into this waterfall effect. I'll be focussing on people who are relatively / completely new to using shader graph systems. The goal is to try to teach you new ways to work with shader graph systems and hopefully make you understand shaders a little bit better (even though this will be in Unity, most of it will apply to UE4 as well). I try to visualize every step with either a animated GIF or an image, as from experience I know many of you will have a very visual mindset. Visualizing everything has helped me a lot in the past.
I used the following tools:
- Unity 2018
- Amplify Shader Editor (Unity plugin) - if you don't want to spend any money install Unity 2017 and download Shaderforge for free from the asset store, this plugin has been discontinued but still works on Unity 2017. It might look a little different but both tools are practically the same apart from that some nodes have different names.
- Autodesk Maya (again, Blender will work just as fine if you're on a budget).
- Something to generate or edit textures could come in handy (I use Photoshop, or sometimes even Substance Designer to quickly generate some handy textures, but you certainly won't need this for this effect).
Again, you could make the same thing in Unreal Engine, so if you're used to Unreal just try to go along, you'll be fine!
For the first part, I'll go into the ripple effect where the waterfall hits the water surface. You could go a lot further with this (please check out Simon's talk!!) but for now we'll stick to this. You could use this material for other things as well, for example the ripples around objects that are sticking out of a water surface, or you could place them on a spline and place them along shorelines to make them look like waves.

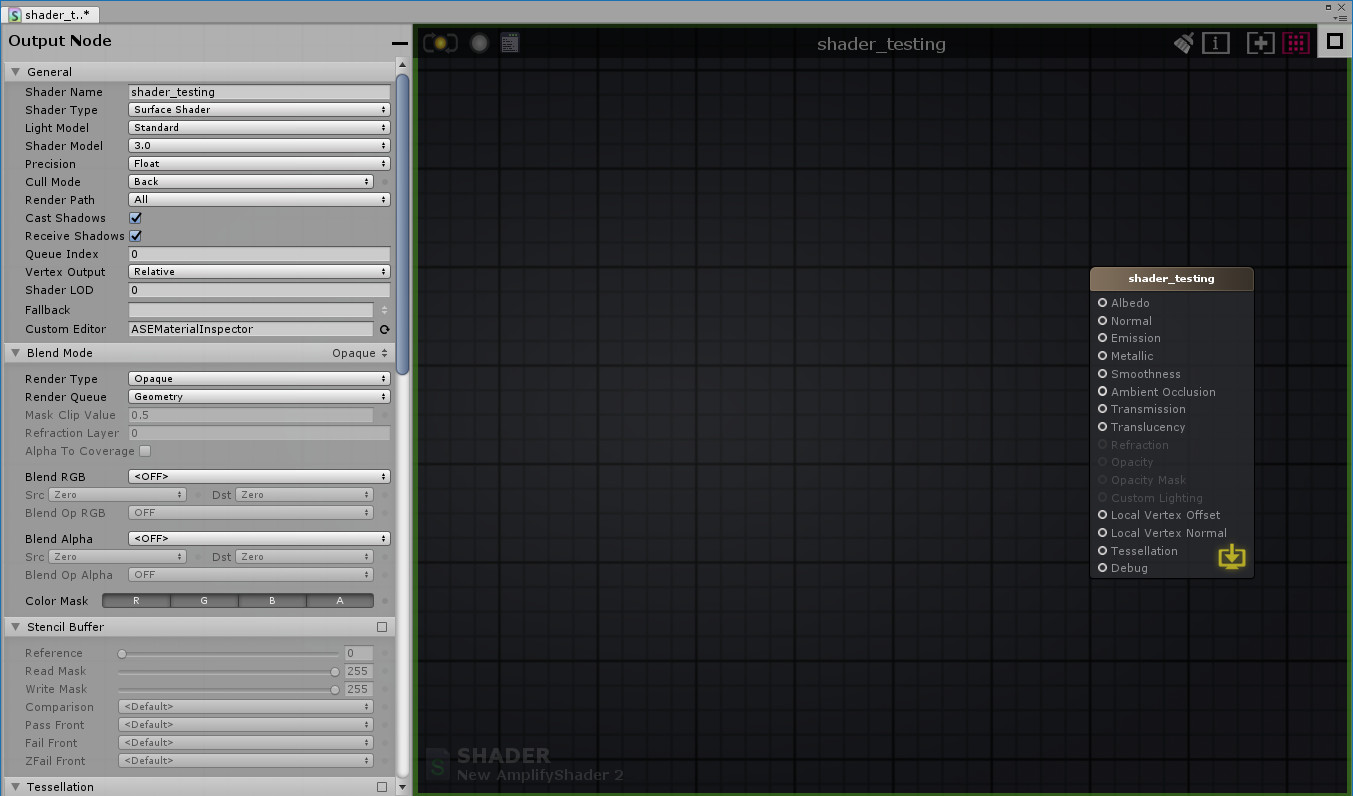
Open up Unity and make sure you have a shader graph plugin installed. Unity has it's own shader graph now, but it is not yet fully developed at the time of writing (June 2018). I recommend you wait untill it is further developed and use Amplify Shader Editor for now, or Shaderforge (+Unity 2017) if you don't want to spend any money. Create a new material and give it a discriptive name (I called it MAT_WaterWrinkles). Then righclick the material in the project tab and go to create > amplify shader > surface shader. This should apply the new shader to your material automatically. You can always select the shader in the material tab > shader dropdown and select it there if it did not apply it automatically. (for shaderforge, it should say something like PBL shader, basic lit should do the trick for this shader as well). Make sure you name everything neatly, or you're gonna have a bad time - stick to naming conventions! Remember you have to name the shader both in the folder view and in the actual shader once you have opened it.
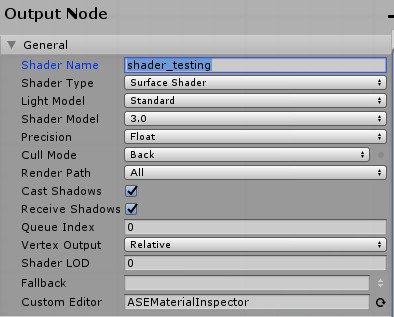
Once you have opened your new shader you should see something like this.
I'm not going to write a full in-depth tutorial on how to use the shader graph. If you are totally new to this it might help to watch some introduction tutorials first. Anyway, to get the desired effect, first we'll need a basic panner. here's a panner with a test texture applied to a plane:
A panner moves the UV coordinates around. Make sure the wrap mode of your texture is set to repeat instead of clamp, so it tiles. In Shaderforge you might have to connect a time node to the panner input, amplify has some of these basic values already enabled in the node itself. You can edit these values (panning speed and direction, for example) by clicking on the node and editing the settings.
So alright, we got a moving texture now, but to achieve this effect...
We'd really want it to pan like this...

As you can see, the node structure is the same - the panner allows us to move the UV coordinates in the U and V (or X and Y...) direction. To achieve the desired panning direction, we'll need to make a custom mesh with some nifty UV's. This is probably the easiest way to do this, I made a GIF that demonstrated why and how this works.
So with the same material applied to a different mesh, we can have some control over the direction in which the texture moves in 3D space, whilst it does exacly the same in UV space.
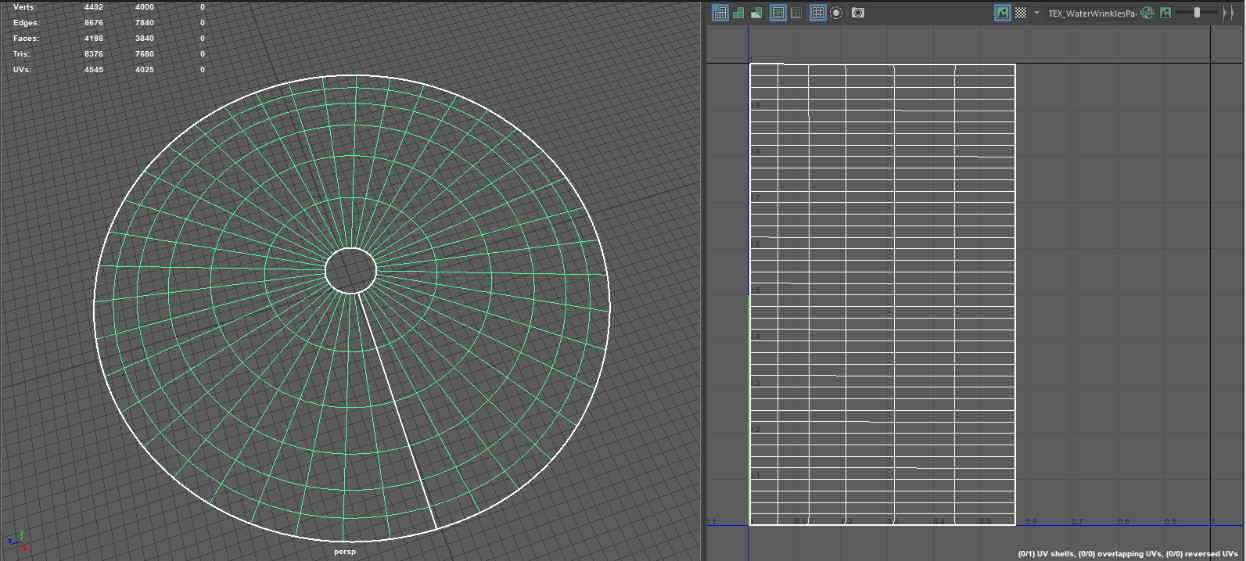
To enhance the ripple effect for later on, I gave it some more poly's and distorted the UV's in such a way that the texture moves faster in the center then it does at the edge of the mesh, so it feels like the ripples are losing speed. I also placed the UV's in such a way that when you move a texture around, it wraps around perfectly so you don't have a visible seam on your mesh.
This also brings us to a valuable lesson: a good visual effect rarely consists out of a single system and often is a combination of multiple systems working together. A good shader, some well designed textures, some particles and a well made mesh / UV's are all things you can combine and let them work together into one single effect.
So now we got a texture moving in the desired direction. It is slower at the center as it is at the edges, thanks to the distortion of the UV's that we did in our 3D software. The UV's are laid out in such a way that, if you move around the UV coordinates from right to left in UV space with a panner it translates as an inward to outward motion in 3D space. The edges of the UV island are snapped to the edges of the 0 to 1 in the V direction of the UV space (select to UV verts, and snap to grid with X), so that we don't get a texture seam on the 3D model. As you can see, we now got all the basic ingredients for our desired effect!

I'm going to wrap up part 1 here! See part 2 if you want to read on, where I'll go into the hard cut-off transparency and the watery wrinkles, as well as using vertex colors. Thanks for reading!
Part one - water wrinkle effect basics
Part two - water wrinkle effect opacity
Part three - waterfall basics
Part four - waterfall color, opacity and vertex displacement